
How to Choose the Right Audi Rear Bumper?

Choosing the right Audi Rear Bumper is more than matching a familiar shape. It affects safety, appearance, parking sensors, and repair costs. A bumper may look correct online but still fail to fit your exact Audi model.

Experience matters here. During vehicle inspections, technicians often compare the bumper’s mounting points, sensor openings, exhaust cutouts, and material thickness. Small differences can create large installation problems. Check the model year, body style, trim level, and parking-assistance system before ordering. A bumper for an Audi A4 Sedan may not suit an A4 Avant, even when both share similar styling.

Quality deserves careful attention. Original equipment parts usually provide reliable alignment and consistent sensor performance. Certified aftermarket options can also work well when their specifications are clear. Look for strong mounting tabs, accurate paint preparation, and documented compatibility. Cheap plastic may flex near the wheel arch or leave uneven gaps around the trunk.

Do not ignore the finish.

The right choice should also match your repair plan. A painted bumper may save workshop time, while a primed version may allow better color matching. Some online listings provide incomplete information. That is frustrating, but it is also a reason to verify every detail with a trusted supplier or qualified technician.

This guide explains how to compare Audi Rear Bumper options with practical judgment. It considers fit, materials, sensors, style, installation, and long-term value. You may still find exceptions. Audi specifications can vary across markets and production periods. Careful checking remains the safest decision.
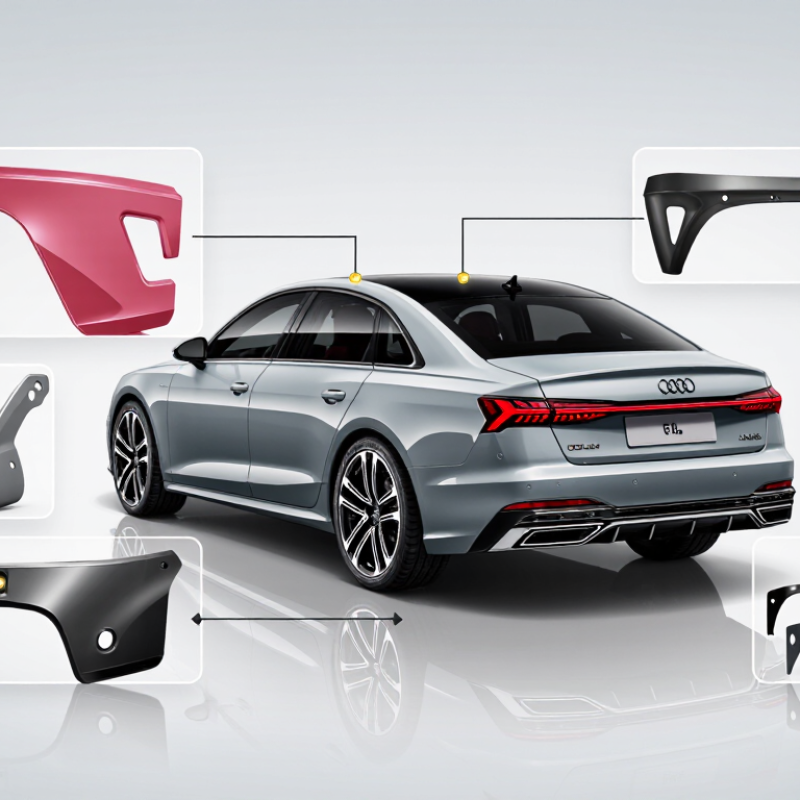
How to Choose the Right Audi Rear Bumper?

Audi Rear Bumper Types and Their Functional Differences

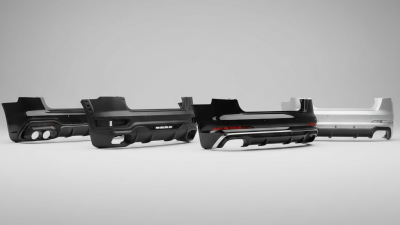
Rear bumper types differ in shape, equipment, and the protection they provide. A standard painted cover suits everyday driving and usually keeps a clean, understated profile. It may include openings for parking sensors or reflectors, so matching those details matters. Small differences can affect installation.

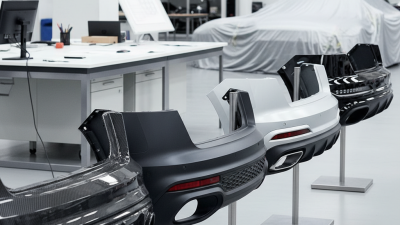
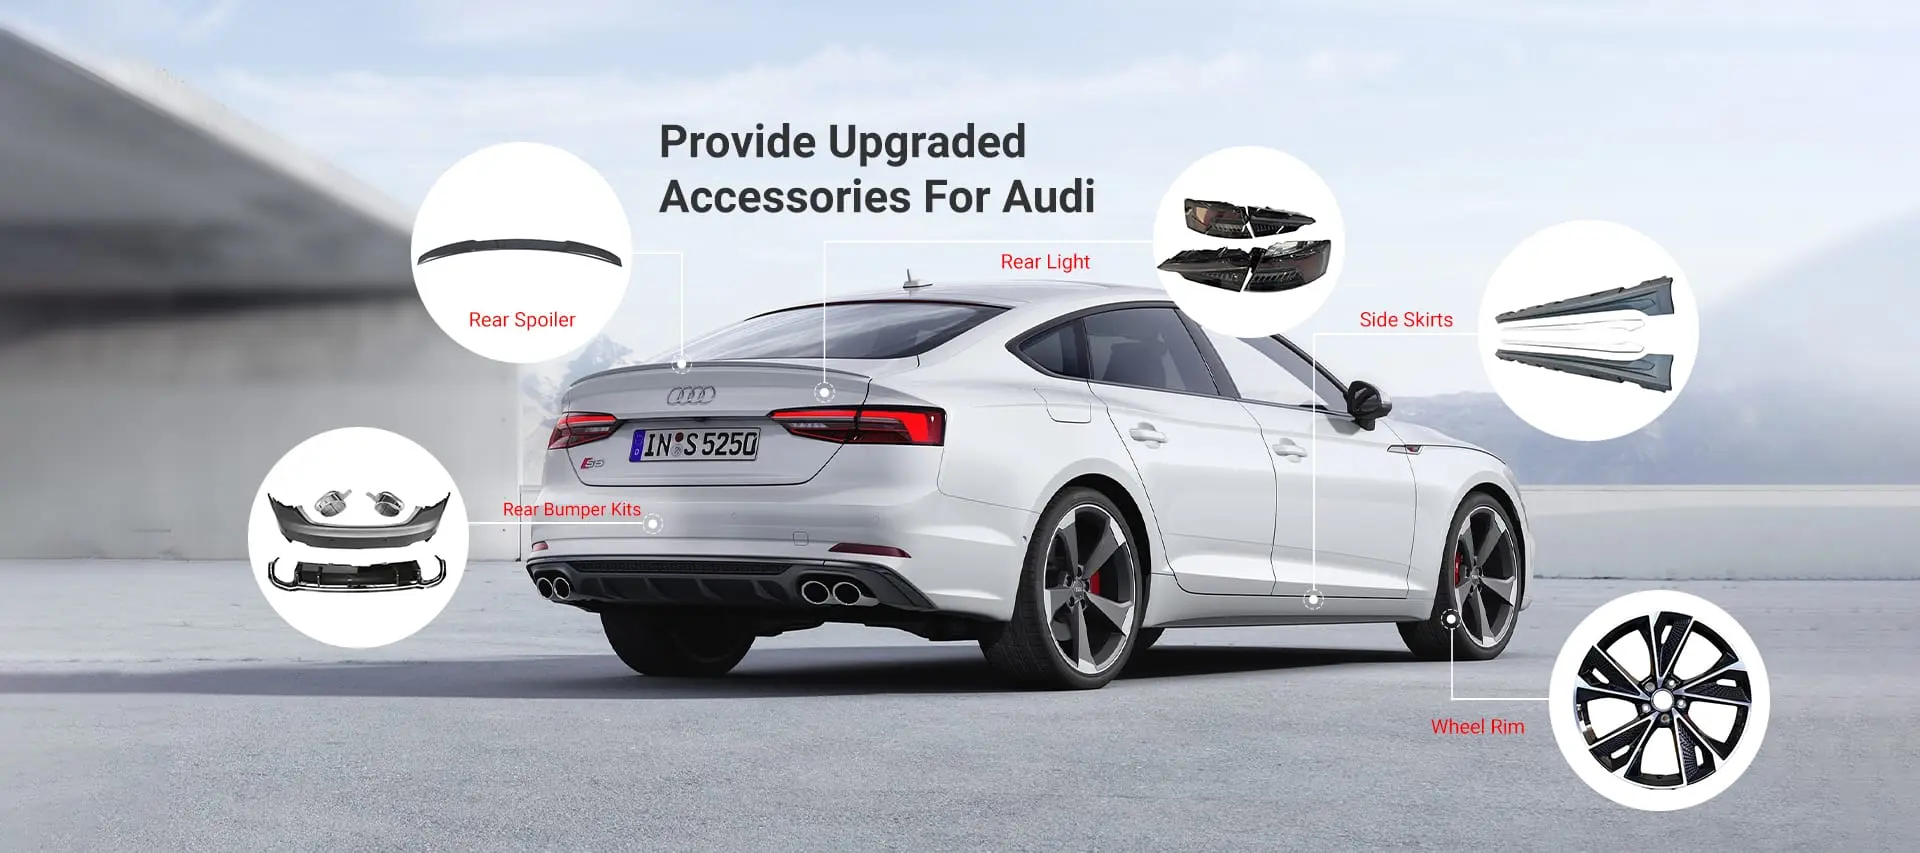
A sport-style bumper often has deeper contours, larger vents, or a lower diffuser-like section. These features change the vehicle’s appearance and may guide airflow near the rear, but they do not automatically improve performance. Some designs also require matching exhaust cutouts. Check the layout before ordering.

A bumper designed for towing may include a removable hitch cover or extra clearance around towing hardware. Sensor-equipped versions need correctly placed openings, while the energy-absorbing foam and reinforcement behind the outer cover are separate parts. They matter in a collision. Choose by model year, body style, and installed options, not appearance alone. A close visual match can still fit poorly. Honestly, trim details are easy to overlook. Inspect photos, mounting points, and sensor locations, then confirm fitment with a qualified parts professional.

How to Match a Rear Bumper to Your Audi Model and Year

How to Match a Rear Bumper to Your Audi Model and Year

A rear bumper cover can look correct in a photo and still fail to fit. Match the exact model year, body style, and trim before ordering. Check the VIN against a reliable parts catalog, then confirm the listed production date. Mid-year changes can affect mounting tabs, reflector shapes, exhaust openings, and parking-sensor positions. Small mismatch, big trouble.

Compare the old cover with the replacement, especially around the wheel arches and trunk opening. Note every sensor hole and bracket; some versions use different wiring or support pieces. The IIHS low-speed bumper test protocol uses full-width impacts at 6 mph and corner impacts at 3 mph. These test conditions show why bumper design and reinforcement details matter, though they do not confirm parts compatibility. Ask the supplier to verify the part number against your VIN.

Before installation, inspect the foam absorber and mounting rails for damage. A new cover cannot correct a bent support. Do not guess. If the catalog lists several versions, request dimensions or clear photos of the rear, inner tabs, and sensor openings. I’d double-check even when the shape looks identical; matching paint and contours are not proof of a correct fit.

How to Choose the Right Audi Rear Bumper?

How to Match a Rear Bumper to Your Audi Model and Year

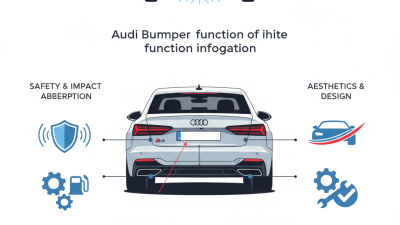
Use this checklist to compare the vehicle identity, bumper equipment, and installation details. The bars count the listed checks in each group; they are not market statistics. Confirm the replacement part number and fitment with the vehicle’s VIN before ordering.

Key Materials, Features, and Safety Considerations

A rear bumper’s material affects weight, repairability, and resistance to everyday knocks. Flexible automotive-grade plastic is common because it can absorb minor impacts and resist corrosion. It may crack, though, after a hard hit or in cold weather. Steel offers greater strength but adds weight and can dent or rust if its coating is damaged. Choose a material that matches the vehicle’s original construction and intended use, rather than judging by appearance alone.

Check the bumper’s mounting points, finish, and cutouts for lights, exhaust outlets, and parking sensors. Small differences matter. A sensor placed slightly off-center may give unreliable alerts, while poor fit can leave uneven gaps or expose sharp edges. Confirm compatibility using the vehicle’s year, trim, and installed equipment. Safety comes first. The bumper should attach securely to the designed impact structure; it is not a substitute for that structure. After installation, check that lights and sensors work, and look for loose fasteners. It is easy to overvalue a glossy finish and overlook fit. Sometimes the quieter choice is the better one.

How to Choose the Right Audi Rear Bumper? - Key Materials, Features, and Safety Considerations

Use this guide to compare common rear-bumper components and selection factors. Exact fit and equipment vary by vehicle model, year, trim, and installed options.

Selection Factor Common Options or Details What to Check Safety and Fit Considerations
Outer bumper cover Typically a molded thermoplastic component, such as polypropylene or a related plastic blend. It provides the visible exterior finish. Confirm the vehicle’s exact model year, body style, trim, mounting points, and finish requirements. The cover is not the main structural crash member. It should not be treated as a substitute for the reinforcement bar or energy absorber.
Energy absorber Often made from engineered foam or another energy-managing material positioned between the cover and reinforcement. Check that the absorber is present, undamaged, and designed for the specific bumper assembly. It helps manage impact energy in certain low-speed collisions. Do not omit, cut, or replace it with an improvised material.
Reinforcement bar Usually a structural metal component, commonly steel or aluminum, depending on vehicle design. Inspect the bar and its mounts for bending, cracks, corrosion, or previous repair after an impact. Damage may affect load transfer and crash performance. Structural parts should be repaired or replaced according to vehicle repair procedures.
Parking sensors Some configurations have openings and mounts for rear ultrasonic parking sensors; others may not. Match the number, position, diameter, and mounting style of sensor openings to the vehicle’s equipment. Incorrect placement or installation can interfere with sensor operation. Test the system after installation and follow calibration requirements where applicable.
Camera and driver-assistance equipment Depending on configuration, the rear area may include a camera, radar-related equipment, or other assistance-system components. Check for the correct brackets, clearances, and compatible cover design; verify equipment locations before ordering. Do not cover, relocate, or obstruct sensors or cameras. Some repairs may require system checks or calibration using approved procedures.
Exhaust and trim openings Lower valances and bumper covers can differ in exhaust cut-outs, reflectors, tow-hook access, and decorative trim. Compare the existing part with the replacement, including all openings and attachment points. Incorrect cut-outs or missing heat clearances can cause installation problems. Do not modify a cover in a way that compromises fit or nearby components.
New, used, or repaired part A replacement may be new, used, or professionally repaired, with condition and finish varying accordingly. Ask about cracks, distorted tabs, prior repairs, paint condition, and whether required hardware is included. Reject parts with damage to structural components or uncertain repair history. A cosmetic repair to a cover does not establish that hidden parts are safe.
Installation and final checks Installation may involve retainers, brackets, wiring, sensor mounts, and alignment with adjacent body panels. Use the correct fasteners and repair instructions; confirm even panel gaps and secure attachment. After fitting, check lights, reflectors, sensors, camera view, and warning messages. Seek a qualified repairer if structural damage or calibration needs are suspected.

Important: A bumper assembly can include several separate components. Verify compatibility by the vehicle identification details and equipment, and follow the applicable manufacturer repair information for collision-related work.

How to Verify Fitment, Compatibility, and Installation Requirements

Choosing the right rear bumper begins with accurate vehicle identification. Check the VIN, model year, body style, engine option, and production date. Fitment is specific. Two vehicles from the same year may use different mounting points or sensor openings. Compare the replacement bumper with the original part before ordering. Measure twice. Confirm the mounting tabs, exhaust cutouts, reflector positions, and lower diffuser shape.

Compatibility also depends on the vehicle’s electronic equipment. Check whether it has parking sensors, a rear camera, blind-spot detection, or a hands-free liftgate. Sensor holes must match both size and location. Incorrect spacing can create warning messages or unreliable detection. Review the supplier’s fitment chart, installation notes, and return policy. Photos help, but they cannot replace part numbers and physical measurements. I have seen attractive parts fail because one bracket sat several millimeters too high.

Installation requirements deserve equal attention. Inspect the impact absorber, retaining clips, side guides, wiring, and fasteners for damage or corrosion. Some bumpers need sensor brackets, heat shielding, or minor preparation before painting. Use a service manual for torque specifications, and test every light and sensor after installation. A rushed fitting can leave uneven gaps near the wheel arch. That mistake is easy to overlook. If the bumper requires cutting or drilling, confirm the instructions carefully and question whether the part is genuinely designed for your vehicle.

Cost, Quality, and Maintenance Factors to Compare Before Buying

A rear bumper should match your vehicle’s exact year, body style, parking sensors, and exhaust layout. A low price means little if the mounting points need cutting or reshaping. Check the product description carefully. Confirm whether brackets, reflectors, sensor openings, and hardware are included.

Quality appears in the plastic’s thickness, surface consistency, and edge alignment. Press the bumper gently. It should flex slightly, then return without sharp creases. Inspect painted parts under natural light. Uneven color, tiny bubbles, or rough edges may signal weak finishing work. A bumper made from durable, impact-resistant material usually costs more, but it can reduce replacement frequency. Certification details and a clear warranty also improve buying confidence.

Maintenance costs deserve equal attention. Smooth surfaces are easier to wash and less likely to trap road grime. Sensor openings should remain clean and firmly supported. After installation, test parking sensors and inspect the gaps around the trunk and rear lights.

I once focused too heavily on the purchase price and overlooked missing clips. The installation became slower and more expensive than expected. That mistake still influences how I compare parts.

Ask about return conditions, paint preparation, and professional fitting before paying. Even careful measurements can fail when an older vehicle has hidden damage.