
7 Tips for Choosing the Best Car Bodykit

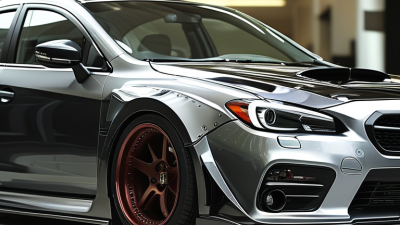
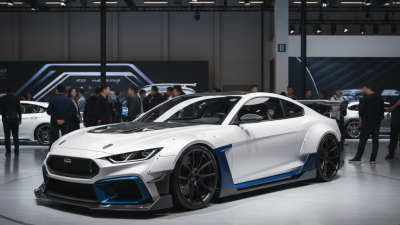
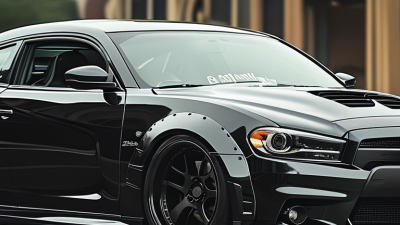
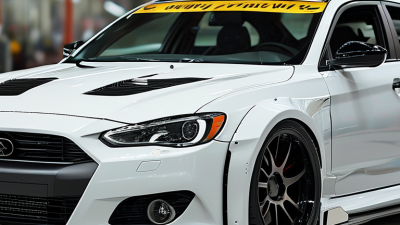
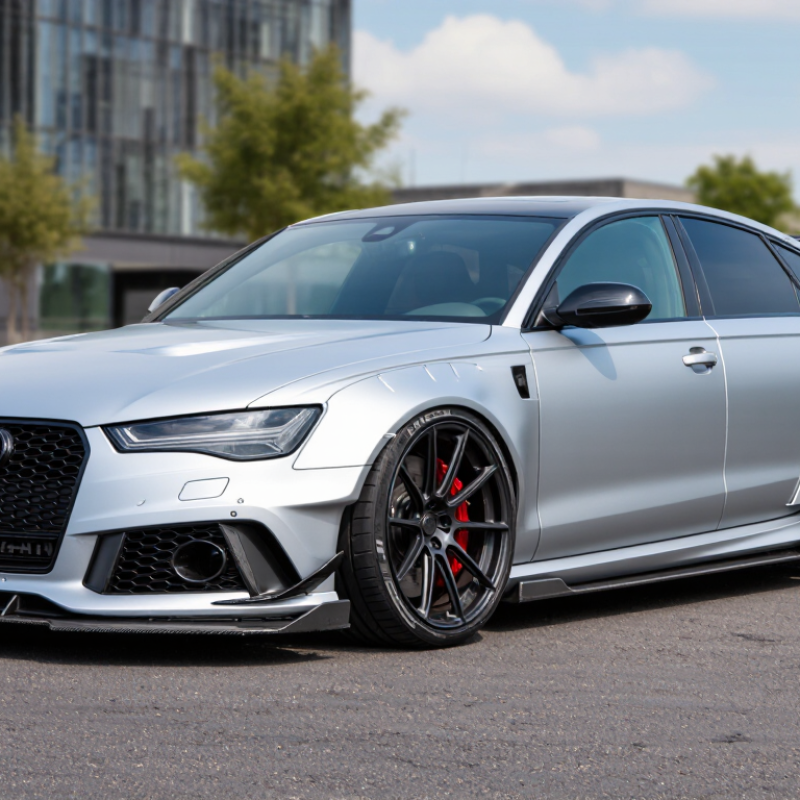
A Car Bodykit can change a vehicle’s stance in a single glance. A lower front lip, sculpted side skirts, or a wider rear spoiler may give a familiar car a sharper, more personal look. Yet the right choice is not just about appearance. Fit, material quality, installation, ground clearance, and compatibility with the exact year and trim all matter. Small details count: a bumper that sits unevenly or a lip that catches on a steep driveway can quickly spoil the result.

The market is broad, but the data needs careful interpretation. SEMA’s 2023 market research estimated U.S. sales of specialty-equipment products at $52.6 billion. That figure covers a wide range of vehicle upgrades; it is not a bodykit sales total. Still, it shows how many drivers invest in personalizing their vehicles, and why buyers should compare products rather than rely on glossy photos alone. Look for clear fitment notes, installation instructions, material specifications, and evidence of quality control. Ask a qualified installer about required modifications before ordering. Measure twice.

These seven tips will help you assess style, fit, durability, cost, and installation with a practical eye. There is no perfect kit for every car or budget. I’ve seen attractive designs disappoint when the finish, fit, or road clearance was overlooked. A little skepticism helps.
7 Tips for Choosing the Best Car Bodykit

Identify Your Goals, Vehicle Model, and Budget

Start with the change you want. Do you need sharper styling, better airflow, or protection for low bumpers? Be specific. A dramatic kit may look great in photos but scrape on a steep driveway. Measure your usual parking ramps and check ground clearance before shopping. A tape measure helps more than guesswork.

Tip 1: Write down your goal. Tip 2: Confirm your exact year, make, model, and trim. Tip 3: Check whether the kit fits factory sensors and existing parts. Tip 4: Set a full budget. Include paint, shipping, installation, and possible adjustments. Tip 5: Ask an experienced installer to inspect the fitment details. Tip 6: Review material and finish options. Tip 7: Keep a little money aside for surprises. They happen.

Budget matters, but avoid choosing by price alone. SEMA’s 2023 market report estimated the U.S. specialty-equipment aftermarket at $52.3 billion in 2022. That figure covers many product categories, not body kits specifically; it does show how broad the customization market is. Compare written quotes, warranty terms, and installation plans. Ask how the kit aligns around headlights, wheel arches, and door edges. Small gaps are easy to miss online. Honestly, even careful research cannot promise a perfect fit on every car.

7 Tips for Choosing the Best Car Body Kit

Identify your goals, confirm vehicle fitment, and set a realistic budget.

Example planning guide: allocate funds across the kit, paint, professional installation, fitment preparation, and a contingency reserve. Actual costs vary by vehicle, materials, location, and project scope.

Compare Bodykit Materials, Durability, and Weight

Compare Bodykit Materials, Durability, and Weight

Tip: Check the material, not just the finish. ABS plastic is relatively light and flexible, making it useful for street-driven cars. Fiberglass can be shaped into detailed designs, but it may crack under sharp impacts. Carbon-fiber composites are lightweight and stiff, though damage can be costly to repair. Typical material data place ABS near 1.0–1.1 g/cm³, while common fiberglass laminates are often around 1.5–2.0 g/cm³; actual parts vary with resin and construction. These ranges are consistent with engineering property references such as MatWeb, but they are not a substitute for a part’s own specifications.

Tip: Compare complete, installed weight. Ask for the kit’s weight, mounting hardware, and any reinforcement—not just a material label. The U.S. Department of Energy’s Vehicle Technologies Office reports that a 10% reduction in vehicle weight can improve fuel economy by roughly 6–8%. That figure concerns the whole vehicle, not a bodykit alone. A few kilograms may matter less than secure mounts and clean fitment. Still, every part adds up.

Tip: Inspect durability details. Look for thickness, mounting points, repair guidance, and resistance to heat near the exhaust. A light panel can flex against a rough road; a heavier one can still fit poorly. Material comparisons are imperfect, and “strongest” does not always mean best. Ask how the part handles everyday knocks. A little skepticism helps.

Check Fitment, Compatibility, and Installation Requirements

Before ordering a body kit, match its fitment notes to your exact year, make, model, trim, and body style. “Fits this model” may still exclude a specific bumper, sensor, or factory side skirt. Measure the car, too. Check mounting points, wheel-arch clearance, and ground clearance against the kit’s dimensions. A few millimeters can matter near a driveway ramp. Ask the seller for a written fitment confirmation and return terms before purchase. Small step. Worth it.

Installation requirements deserve equal attention. Some kits use factory holes; others need drilling, trimming, or paint preparation. Confirm whether the package includes brackets and hardware, and ask a qualified installer to inspect the parts before painting. The Specialty Equipment Market Association’s 2023 report valued the U.S. specialty-equipment market at $52.3 billion in 2022. That broad market figure does not guarantee any particular part will fit; it does show why precise vehicle-specific checks matter among many aftermarket options. Plan for extra labor if panel gaps need adjustment. I would not assume “bolt-on” means effortless. A careful test-fit, with the car clean and the parts unpainted, can reveal misaligned edges before the finish is permanent.

7 Tips for Choosing the Best Car Bodykit — Check Fitment, Compatibility, and Installation Requirements
Tip What to Check Why It Matters Before You Buy
1. Confirm exact vehicle fitment Match the kit to the vehicle’s year, make, model, body style, and trim. Check for differences between sedans, hatchbacks, coupes, and other body styles. Small differences in body panels, mounting points, or factory equipment can prevent parts from fitting correctly. Compare the vehicle details with the seller’s fitment information and ask about exclusions for your specific trim.
2. Check component compatibility Verify that the front bumper, side skirts, rear bumper, and other included pieces are designed to work together and with the original vehicle panels. A kit may include parts that require matching components or may not align with existing bumpers and trim. Confirm exactly which parts are included and whether factory parts must be removed or replaced.
3. Choose a suitable material Compare common materials such as ABS plastic, polyurethane, fiberglass, and composite materials for flexibility, weight, finish, and repair needs. Material properties affect durability, installation work, and how well a part may tolerate minor impacts or temperature changes. Review the material description and care requirements; avoid assuming that a particular material is impact-proof.
4. Review installation requirements Check whether installation involves drilling, cutting, bonding, new brackets, or reuse of factory mounting points. The required work can affect installation time, cost, reversibility, and the risk of damaging existing panels. Read the instructions and confirm whether the kit is intended for professional installation or experienced DIY installation.
5. Check clearance and ground height Consider the kit’s effect on ground clearance, driveway access, speed bumps, ramps, and steep road transitions. Lower or wider body components can scrape or interfere with everyday driving in some conditions. Compare the part dimensions with the vehicle’s current setup, especially if the suspension is lowered.
6. Understand finish and paint preparation Determine whether parts are painted, primed, or supplied unfinished, and whether test-fitting or surface preparation is recommended before painting. Parts may need adjustment and preparation to achieve consistent panel gaps and a suitable paint finish. Budget for fitting, preparation, painting, and color matching when these services are not included.
7. Verify included hardware and support Check for mounting hardware, brackets, installation instructions, warranty details, and a clear process for resolving fitment issues. Missing hardware or unclear support can lead to extra costs and delays during installation. Ask what is included, what tools or supplies are required, and what the return conditions are for unmodified parts.

Evaluate Design, Aerodynamics, and Everyday Usability

A body kit should look right from the curb and still make sense on the road. Compare its lines with your car’s original shape: a front lip that sits too low can look dramatic, then scrape on a steep driveway. Measure ground clearance before buying, and check whether the kit leaves parking sensors and cooling openings unobstructed. Small details matter.

Aerodynamics deserve more than a sporty appearance. A well-shaped spoiler or side skirt may help manage airflow, but results depend on the vehicle, speed, and installation. Ask for fitment details or test data rather than relying on claims like “race-inspired.” Poorly aligned panels can create extra drag, wind noise, or vibration. I once underestimated how much a few millimeters of misalignment could bother me on a daily commute.

Think about the ordinary tasks, too. Can you reach the tow point, remove a wheel, and clean behind the panels? Check material quality, mounting points, and replacement-part availability. Fiberglass may need careful handling, while flexible plastics can better tolerate minor knocks; neither choice is perfect. Consider local roads, winter grit, and your parking space. Measure twice. Then decide whether the look is worth the upkeep.

Verify Safety Standards, Local Regulations, and Seller Support

7 Tips for Choosing the Best Car Bodykit

Safety and fitment matter more than an aggressive look. Before buying, ask what materials the kit uses and whether it has been tested for its intended purpose. Request clear documentation, not just a product-page claim. A front lip that sits too low may scrape on a steep driveway, even when the kit appears well made. Check mounting points and installation requirements with a qualified technician.

Tip: Check local regulations before ordering. Rules for bumper dimensions, lighting, ground clearance, and protruding parts can vary by location. Contact your local vehicle authority or inspection service, and keep its guidance in writing. Do not assume a kit approved elsewhere will meet your local requirements. Measure your parking ramps, too. Small details count.

Ask the seller about vehicle-specific fitment, installation instructions, replacement parts, and support after purchase. Get return terms and warranty coverage in writing, including who pays return shipping if the kit does not fit. A seller who answers practical questions clearly is easier to work with. Still, good support cannot fix every fitment issue. Compare the kit’s measurements with your car, and allow for minor adjustments during installation.